
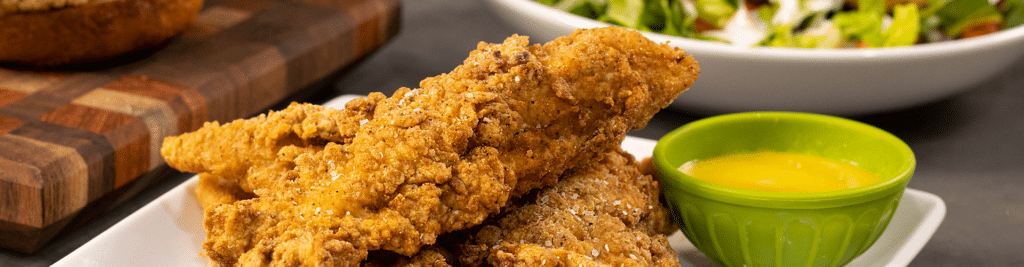
Chicken tenders make a delicious snack or meal. But finding gluten-free chicken tenders with great taste and texture can be challenging. Many of the brands we liked over the years were consistently out of stock, some were not very tasty or crispy, and others were hugely expensive. So, we did what we typically do: made our own!
These crispy, flavor-packed chicken tenders spend 4 hours in a dairy-free “buttermilk” brine and are breaded with our cooking flour blend. We love to serve with our dairy-free ranch dressing, honey mustard dressing, and barbecue sauce. We also use the tenders to make sandwiches and salads. They freeze and reheat well too!
Now, go eat something amazing!

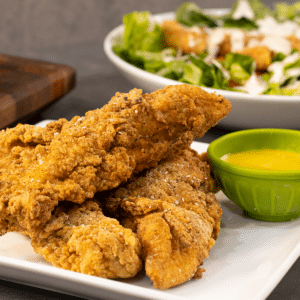
Gluten-Free, Dairy-Free "Buttermilk" Crispy Chicken Tenders

Chicken tenders brined in dairy-free 'buttermilk,' coated in GF flour, and fried crispy—gluten-free and dairy-free, great for dipping or sandwiches.
The Ingredients
For the Brine
- 1 lb chicken tenders
- 1 cup cashew milk, unsweetened
- 2 tsp white vinegar
- 1 tsp honey
- 1 tsp kosher salt
- 1 tsp garlic powder
- 1 tsp onion powder
- 1 tsp Cholula, or your favorite hot sauce
For the Breading
- 2 cups gf explorers cooking flour blend
- 1 tsp kosher salt
- 1 tsp garlic powder
- 1 tsp onion powder
- 1 tsp black pepper
- 1 tsp smoked paprika, or use sweet paprika if you prefer
- 1/2 tsp Italian seasoning
- 1/2 tsp dry mustard powder
- 2 large eggs, beaten
For the Frying
- 2 cups sunflower oil, or canola or peanut oil
- Kosher salt to taste
The Process
Prepare the Brine
- Add the cashew milk to a bowl or measuring cup. Add the vinegar and mix to combine. Let sit for at least 10 minutes.
- While the cashew milk and vinegar are sitting, measure and add the honey, Cholula, salt, garlic powder, and onion powder to a medium sized mixing bowl with a lid. Mix to combine. Add the chicken to the bowl.
- After the cashew milk and vinegar have sat for 10 minutes, add to the mixing bowl with the chicken and other ingredients. Gently mix to coat the chicken. Cover the bowl and place in the refrigerator for 4 hours.
Prepare the Breading
- After the chicken has been in the brine for 4 hours, remove from the refrigerator and let sit on the counter while you prepare the breading.
- Measure and add all the breading ingredients to a large mixing bowl. Mix well.
- Crack and beat two eggs into a mixing bowl large enough to accommodate one chicken tender at at time.
- Add the sunflower oil to a large dutch oven and put on medium high heat.
- Line a sheet pan with paper towels and put a cooling rack on top of the sheet pan. Set aside. You will use this to drain the tenders after they are out of the fryer.
Breading the Tenders
- While the oil is heating, bread the tenders. For the breading process, you will have three bowls: the brine with the chicken, the flour mix, and the beaten eggs.
- Add two tablespoons of the brine to the flour mix and blend together. Do the same with the egg mixture.
- Grab one chicken tender from the brine, shake the brine off slightly, dip into the flour mix and coat well, then shake off the excess and dip into the egg mixture and turn to coat. Shake off slightly and dip back into the flour mix and turn to coat. Shake off the excess and place on a sheet pan. Repeat this process for all of the chicken tenders.
Frying the Tenders
- Using a temperature gun, probe thermometer, or candy thermometer, check the temperature of the oil. The target temperature is 350 degrees. Once you have reached 350 degrees, you can start frying.
- You do not want to overcrowd the pan so fry only 3-4 tenders at a time depending on the size of your pan and the size of the tenders.
- Using a tong, grab one tender and slowly add to the oil, adding it to the pan closest to you and then laying it down in a motion which moving away from you. This will protect you from any oil splattering as you add the tender to the pan. Add the rest of the tenders (remember not to overcrowd the pan) to the pan and cook for 5-6 minutes or until the tenders start to float.
- Remove the tenders to the cooling rack (the one with paper towels) and sprinkle with kosher salt. If you are eating all the tenders immediately after cooking them, you want to put the sheet pan of cooked tenders into a 200 degree oven to keep warm. If you are making these to freeze, you do not need to keep them warm.
- Repeat the above steps for the rest of the tenders.
- Let the tenders cook at least 3-4 minutes after you remove them from the oil before you bite into them. They will be hot!
- Service with honey mustard dressing, ranch dressing, BBQ sauce, or your favorite dipping sauce. The chicken tenders also make a great sandwich and salad. Enjoy.
Video
Nutrition
Calories: 640kcalCarbohydrates: 18gProtein: 15gFat: 58gSaturated Fat: 6gPolyunsaturated Fat: 3gMonounsaturated Fat: 47gTrans Fat: 1gCholesterol: 83mgSodium: 1854mgPotassium: 320mgFiber: 1gSugar: 3gVitamin A: 525IUVitamin C: 1mgCalcium: 31mgIron: 1mg
Tried this recipe?Let us know how it was!